
How to Color in Procreate
By Leila · Creative Director · Game Designer
Colour in Procreate is divided across two places — the eyedropper and ColorDrop for picking what you already see, and the four palette modes (Disc, Classic, Value, Palettes) for choosing what you don’t. This is the tour.
If you haven’t set up your layer stack yet, start with How to Use Layers in Procreate — it’s the foundation everything else paints on.
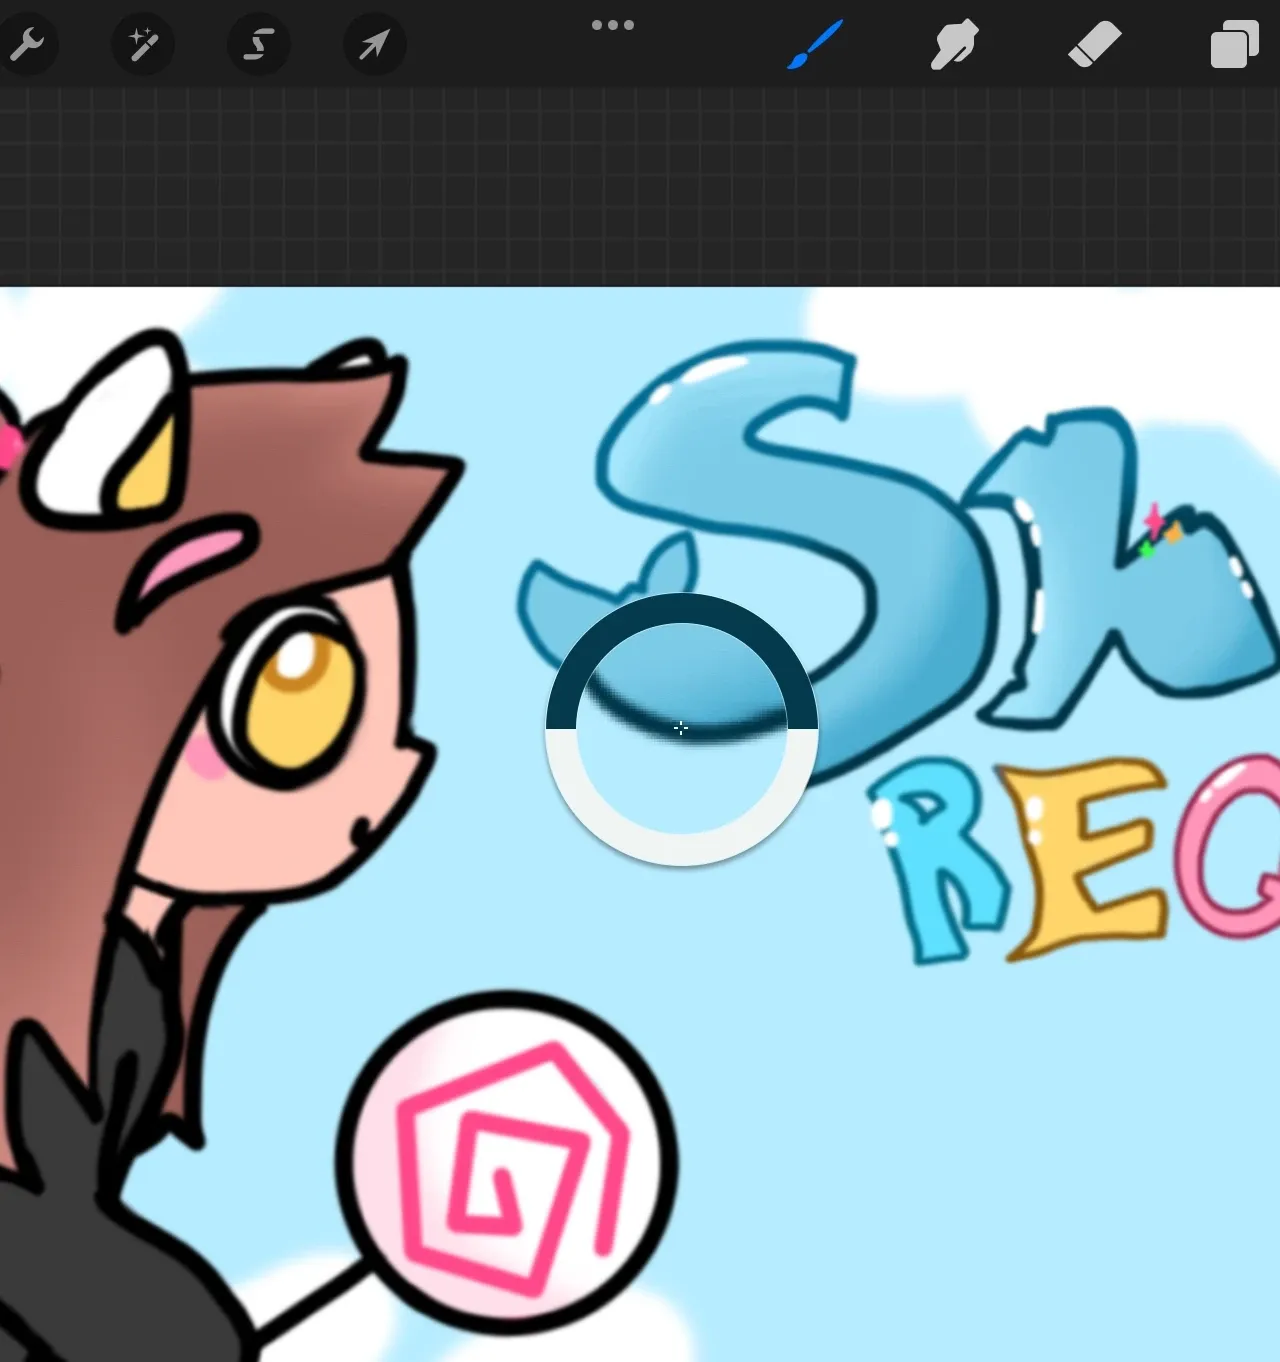
Eyedropper
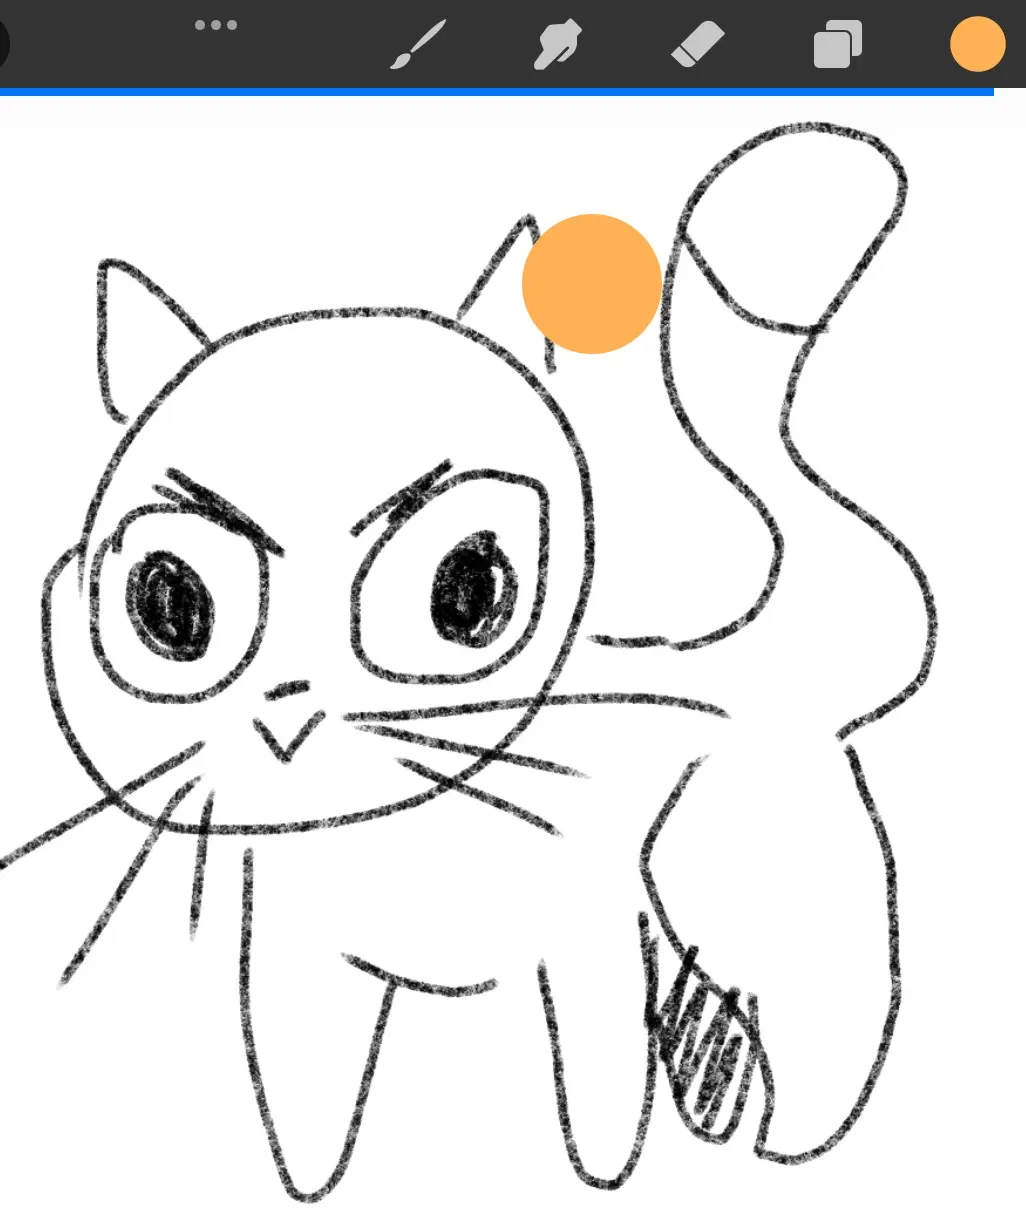
To choose the colour you need from the picture, you need to press and hold on to the screen. You will have a mini circle indicating which colour you choose.
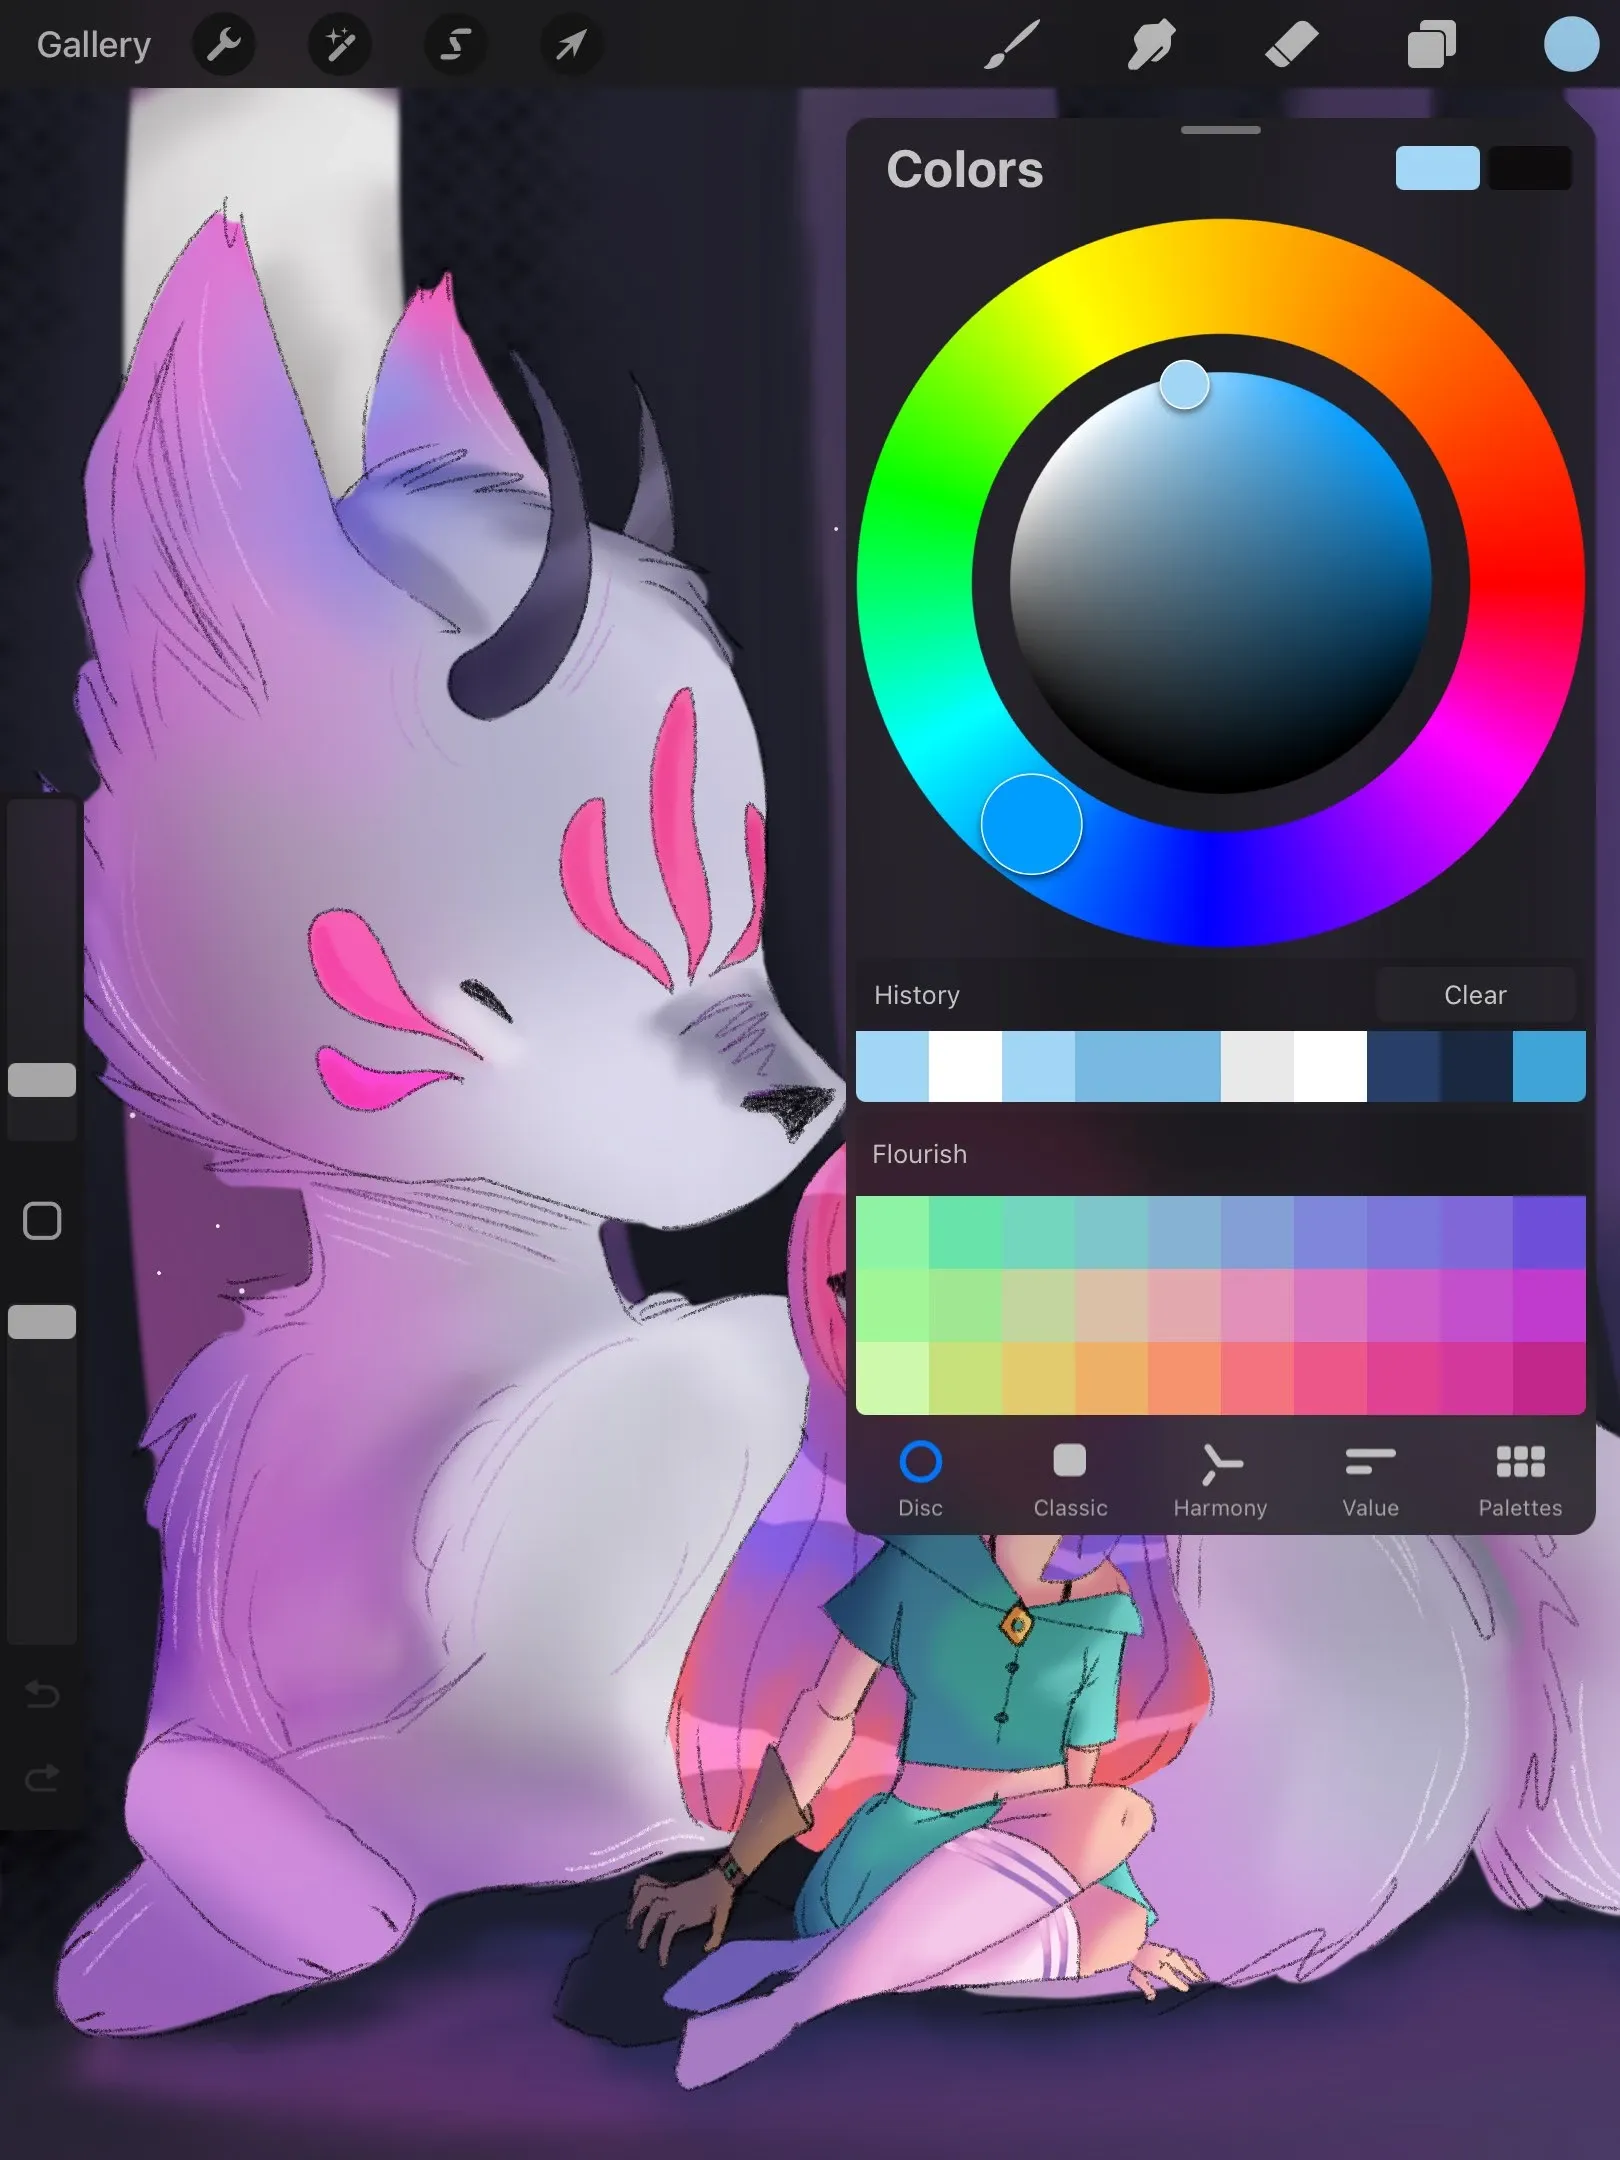
Colour drop
To fill the background or a certain part of the picture, you need to press and keep on the colour in the upper right corner. After transferring this colour to the part that you want to paint over.
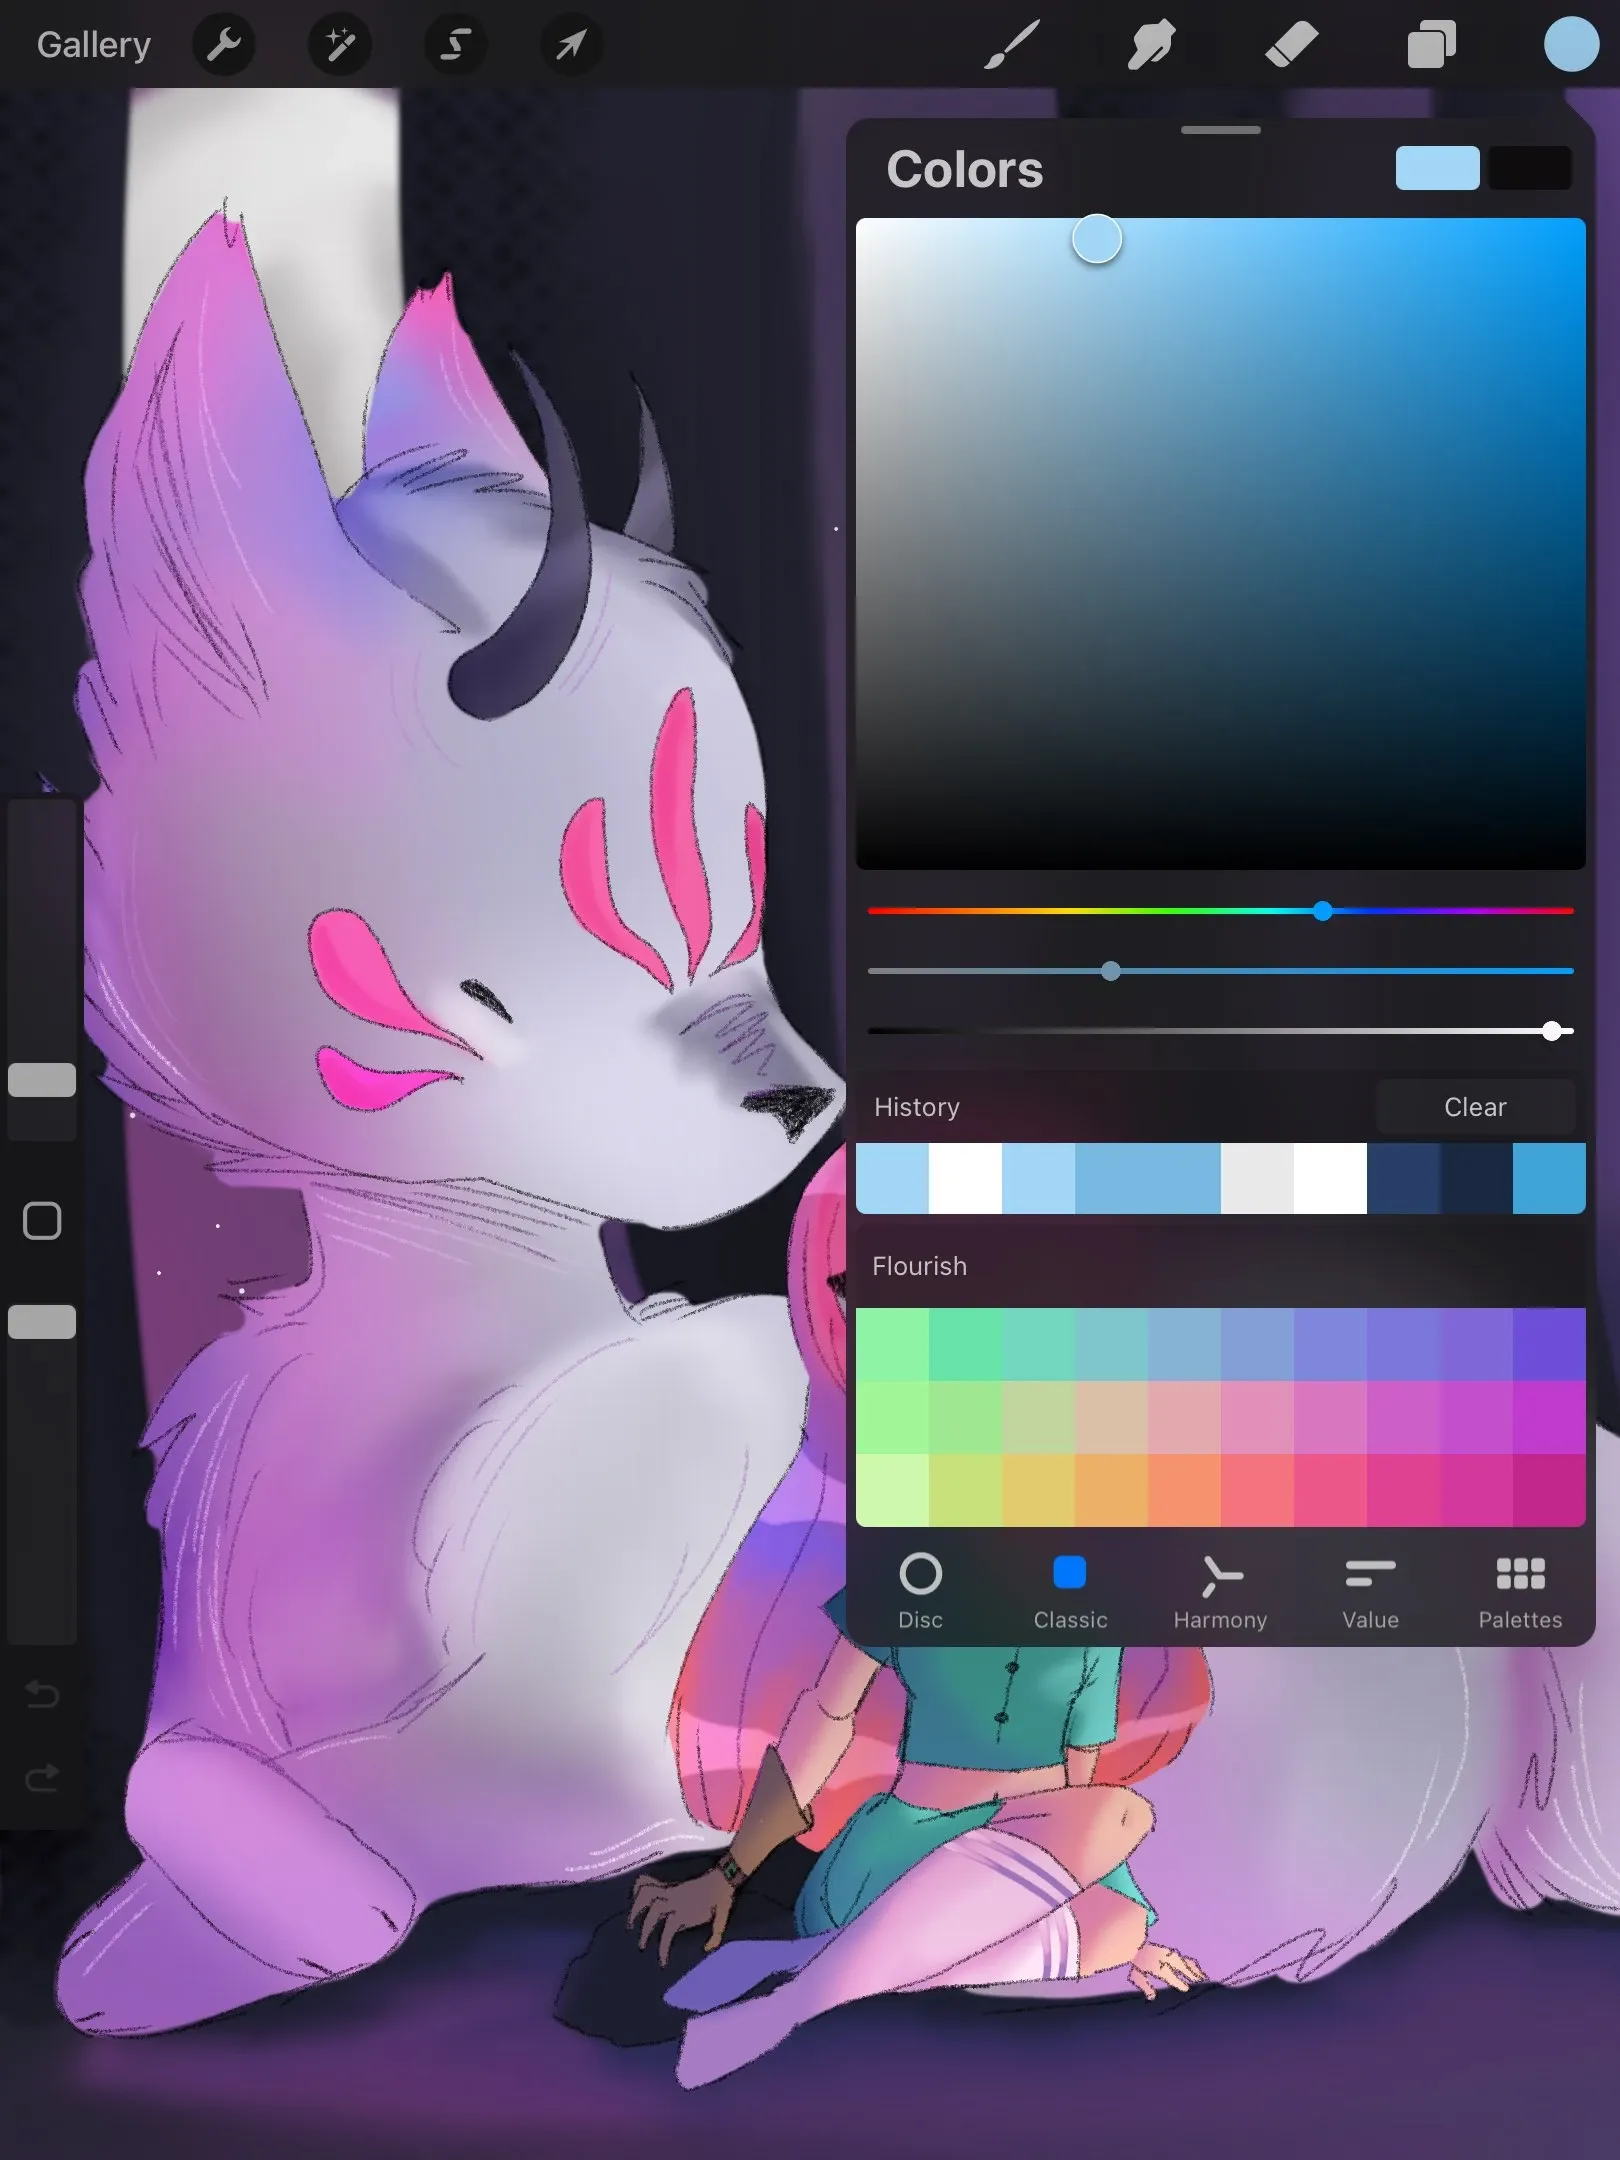
Palettes
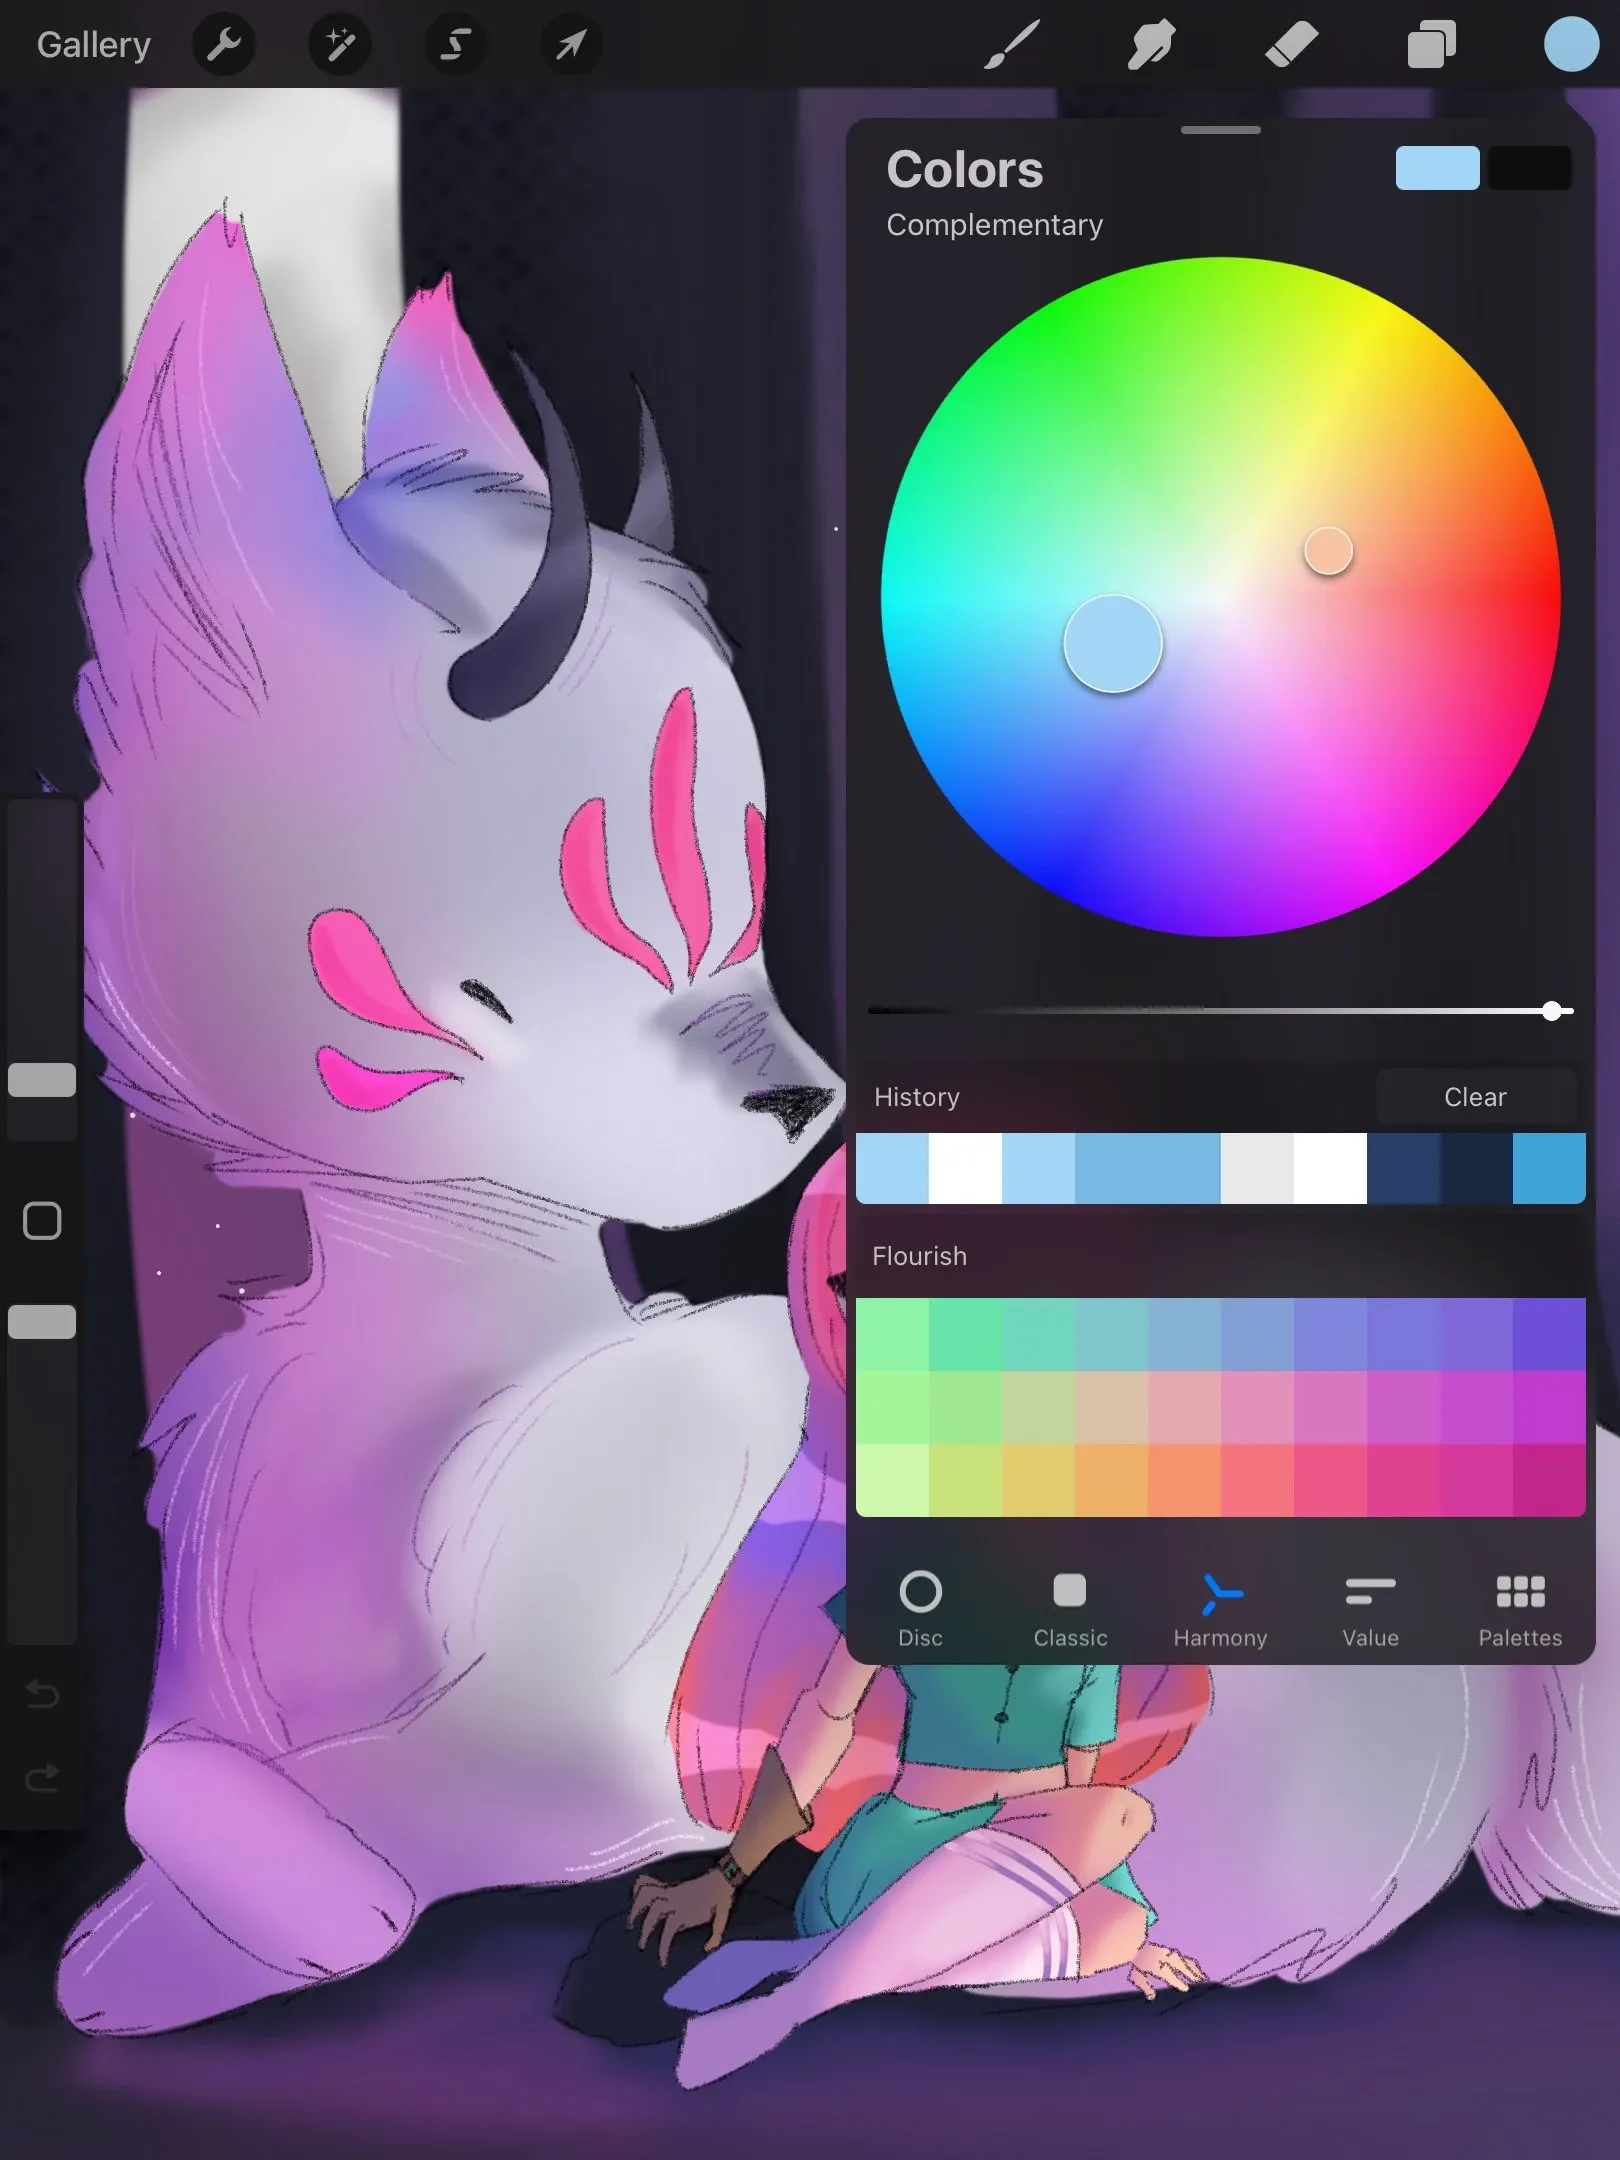
Disc
In the disc palette, it is quite easy to select bright and pleasant colours. But there is also a minus — in this mode, it’s hard to choose just white because of the circle form of the palette.
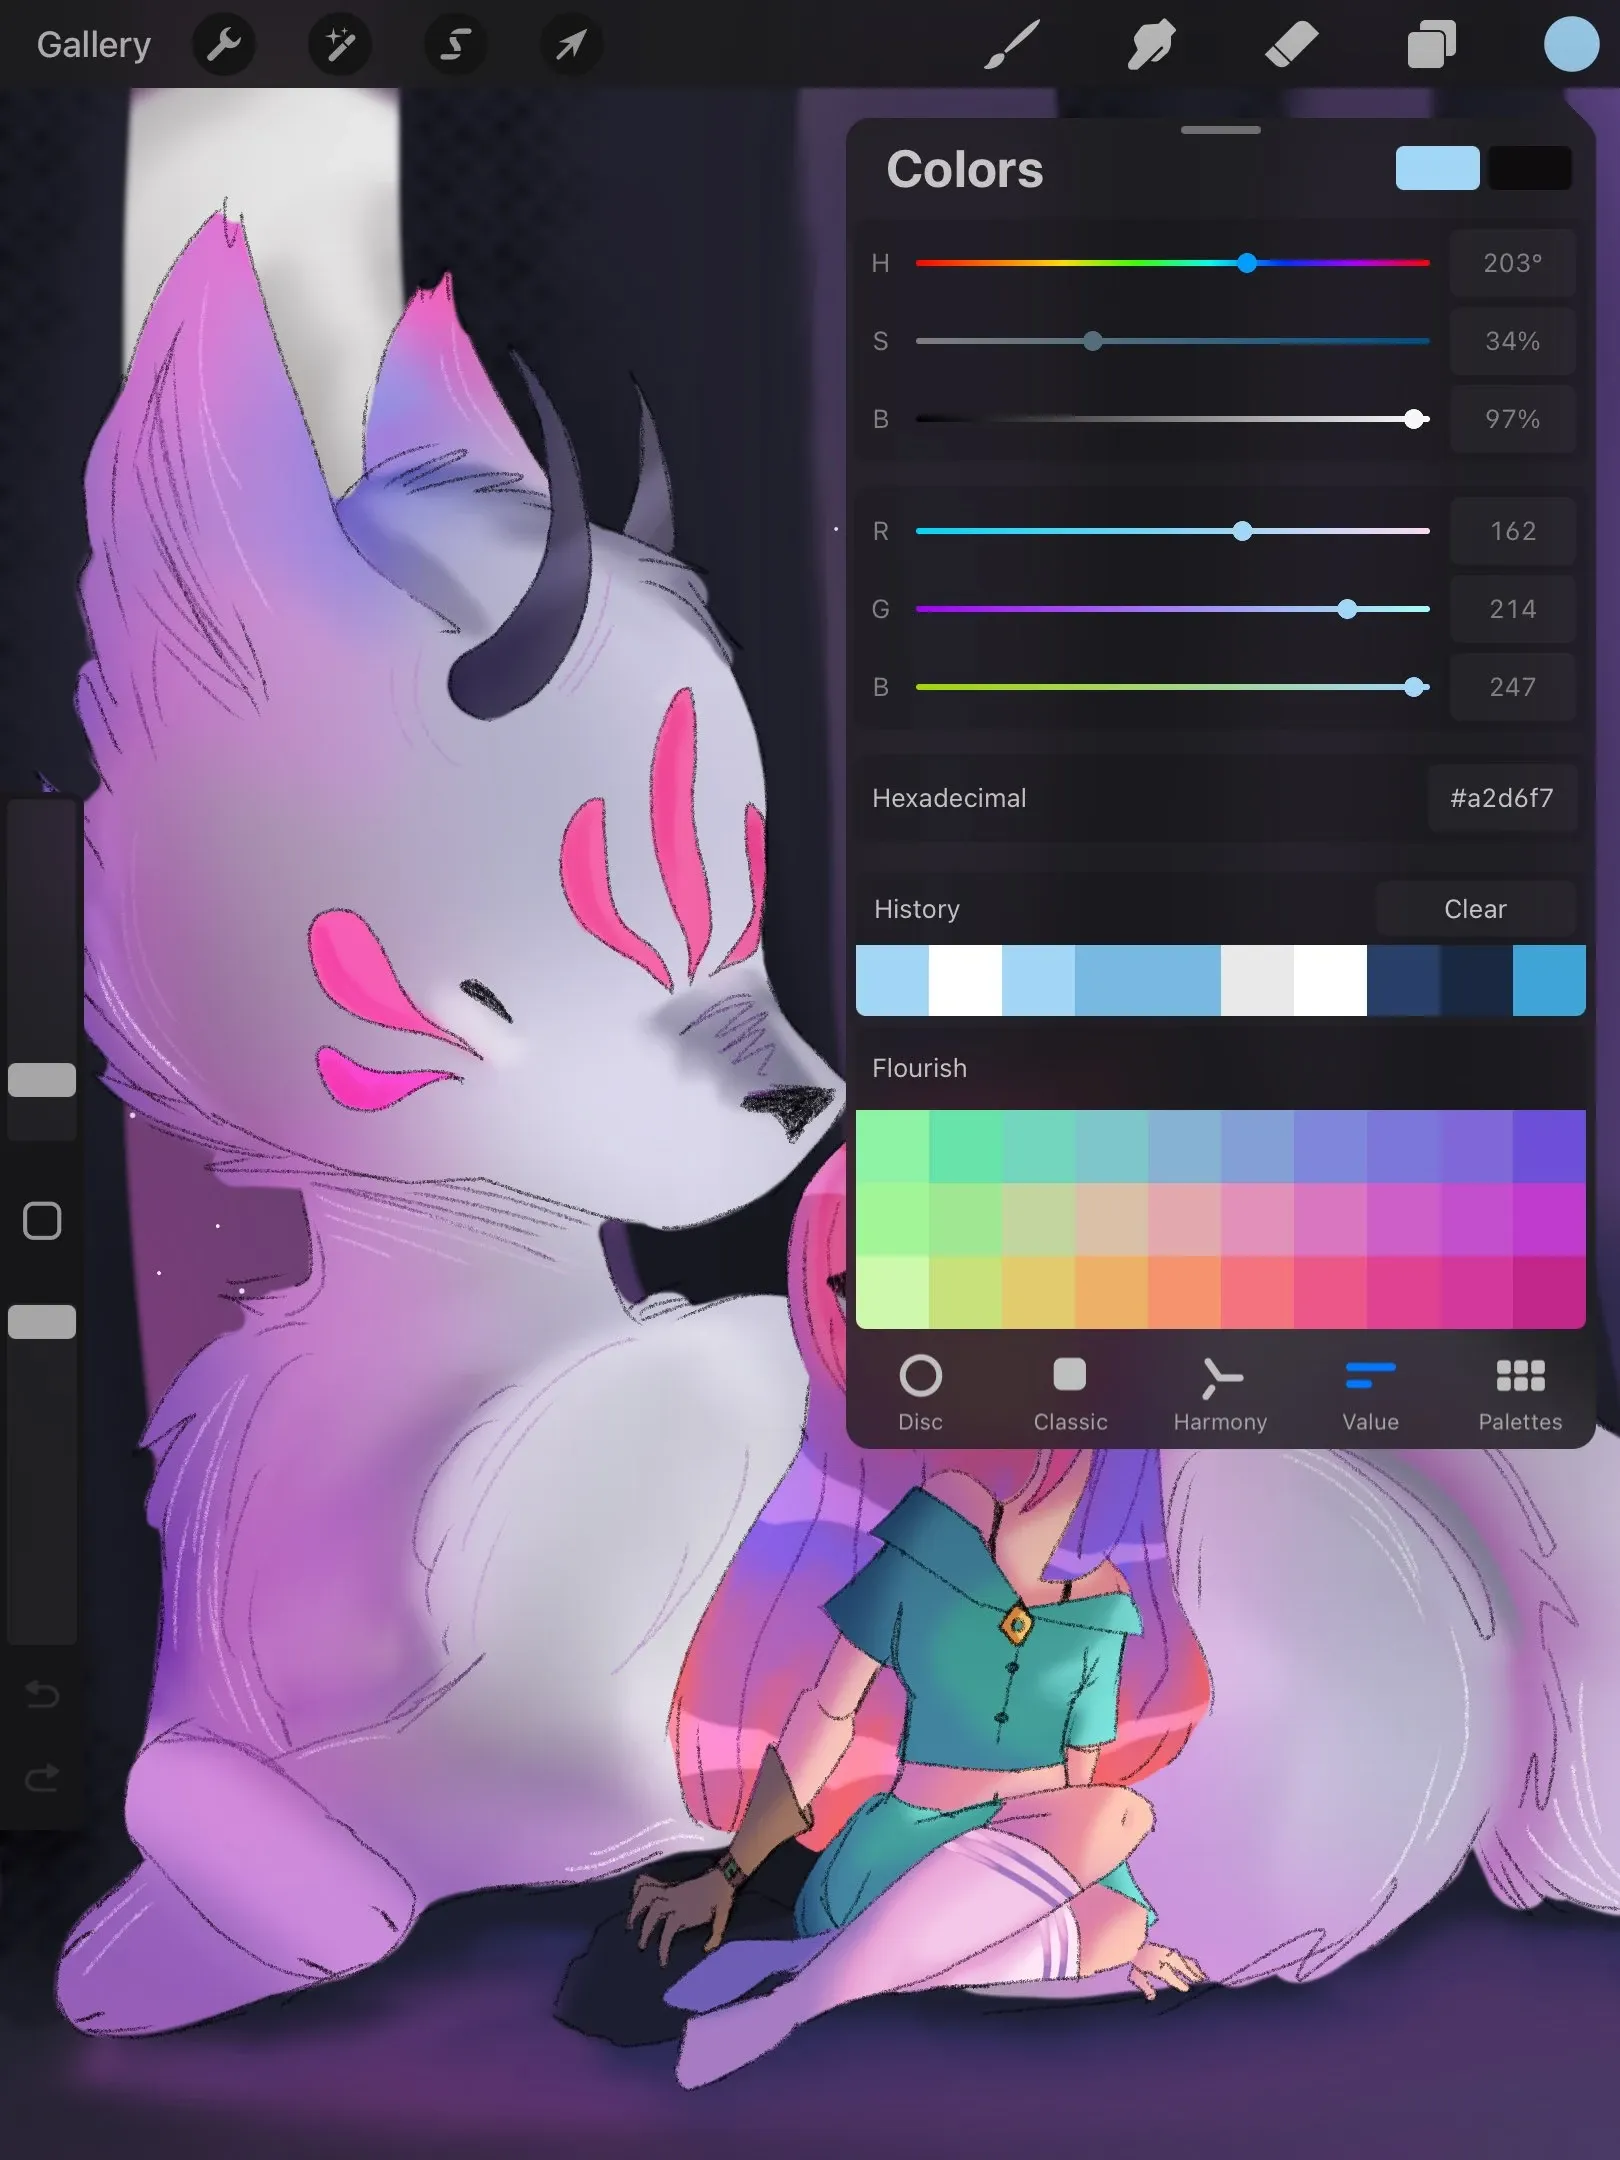
Classic
In the classic palette, there is a mini square with the colour you have chosen. To change the colour, move the cursor on the first line with the colour. This is the simplest palette for easy and fast colour selection.
Value
There are six stripes with colour in the Value palette — this gives greater colour control.
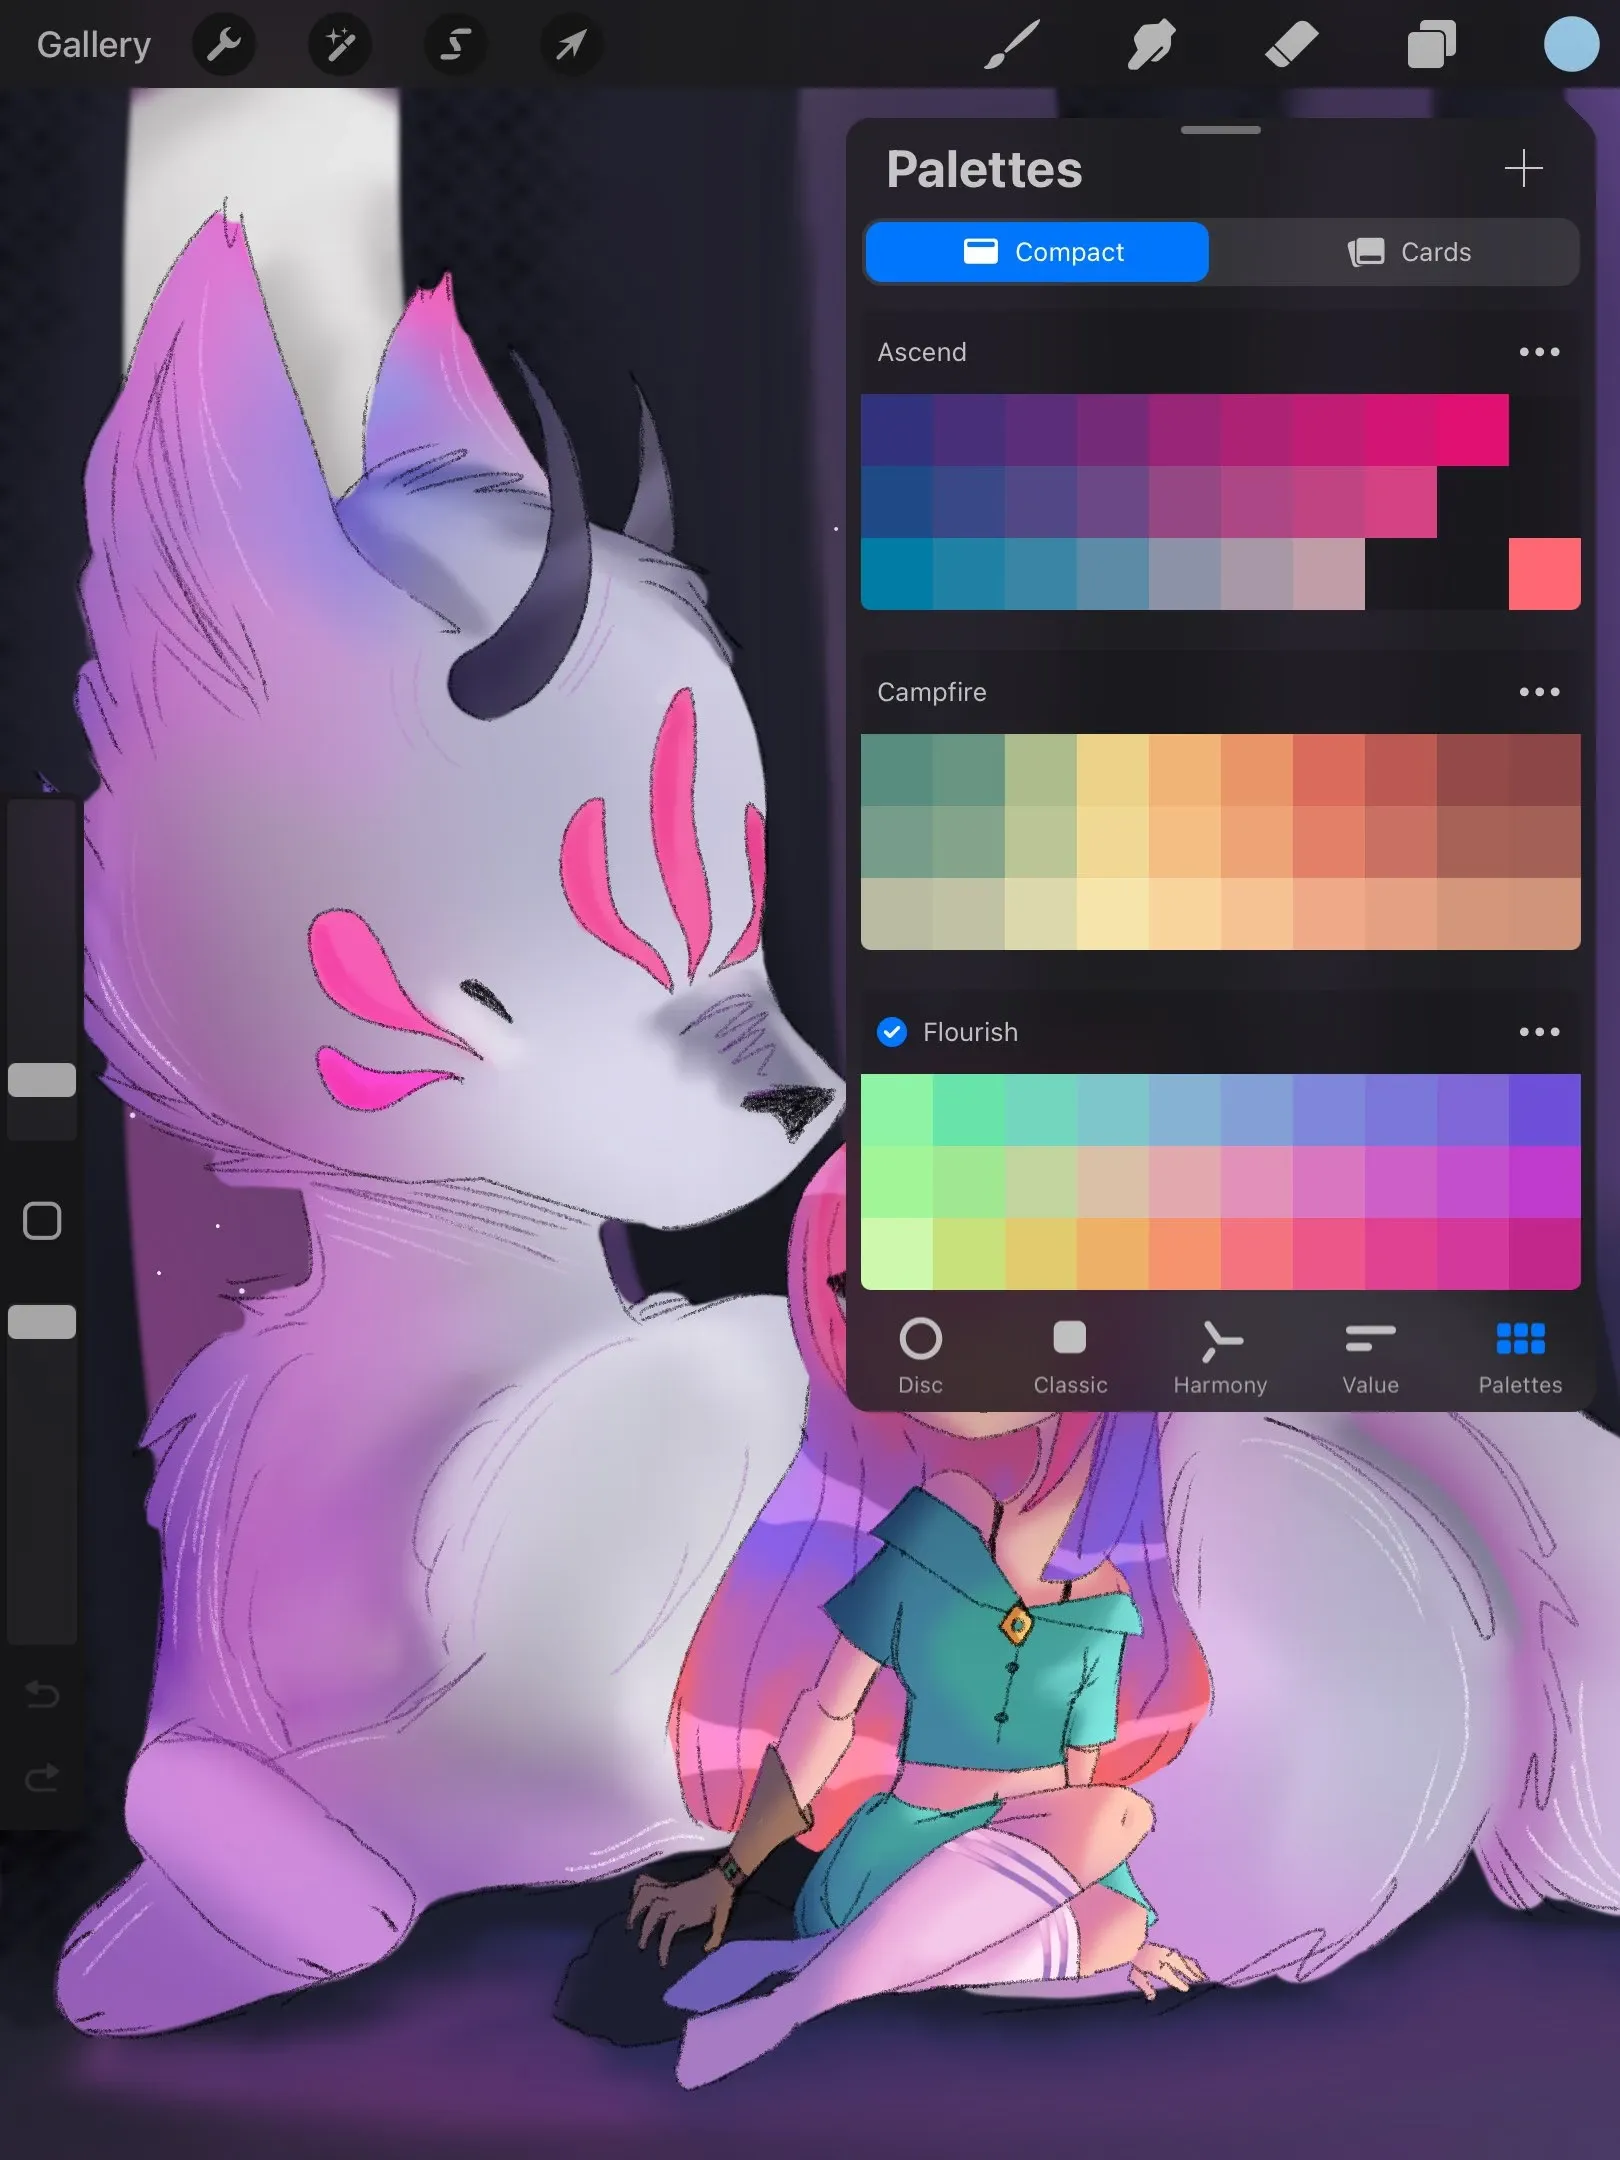
Palettes
In this mode, you can create your own colour palette by clicking on the plus sign in the upper right corner. You can also put your palette on the main colour selection screen for ease of use. The palette will be reusable — handy for keeping the same colours across, say, all the frames of one character.
Related Posts
- 1 Maya Basics — a Five-Minute TourCookbook · A short tour of the Autodesk Maya interface — workspace, viewport navigation, primitive shapes, modeling tools, and the channel box. For first-timers.
- 2 How to Color in Corel PainterCookbook · The Corel Painter colour picker in one tour — open the palette, the detailed mixer, the eyedropper, and how to build a custom palette from scratch.
- 3 How to Add a 2D Collider to Sprites in UnityCookbook · How to add and adjust a 2D collider on a sprite in Unity so it can actually collide with the world. The Inspector flow, in five clicks.
- 4 How to Get Rid of Sticky Walls in UnityCookbook · The quick fix for characters sticking to walls in 2D Unity — create a Physics Material 2D with zero friction and apply it to your player's Rigidbody 2D.
Random Posts
- 1 Game Character and Story Design: How to Make Players CareGame Development · Good mechanics keep players in the game. A character with a spark and a story worth finishing is what keeps them from putting it down. Here's how to build both.
- 2 2D vs 3D for Your First Game: Which One Should a Beginner ChooseGame Development · 2D lets you learn movement, collisions and animation without a whole 3D workflow on top. Here is when to start there, when 3D is worth it, and how to skip the art.
- 3 How to Add a 2D Collider to Sprites in UnityCookbook · How to add and adjust a 2D collider on a sprite in Unity so it can actually collide with the world. The Inspector flow, in five clicks.
- 4 Maya Basics — a Five-Minute TourCookbook · A short tour of the Autodesk Maya interface — workspace, viewport navigation, primitive shapes, modeling tools, and the channel box. For first-timers.