

Maya Basics — a Five-Minute Tour
By Leila · Creative Director · Game Designer
If you’ve just opened Autodesk Maya for the first time, the screen can feel crowded. This Maya basics tour covers the five regions that matter, the navigation gestures, and where the modeling tools live — five minutes, then you’re modeling.
Once you’ve got a mesh, the game-engine side of the workflow starts in Unity. The first two stops there are usually adding an icon to your build and adding a 2D collider to a sprite.
The Maya workspace
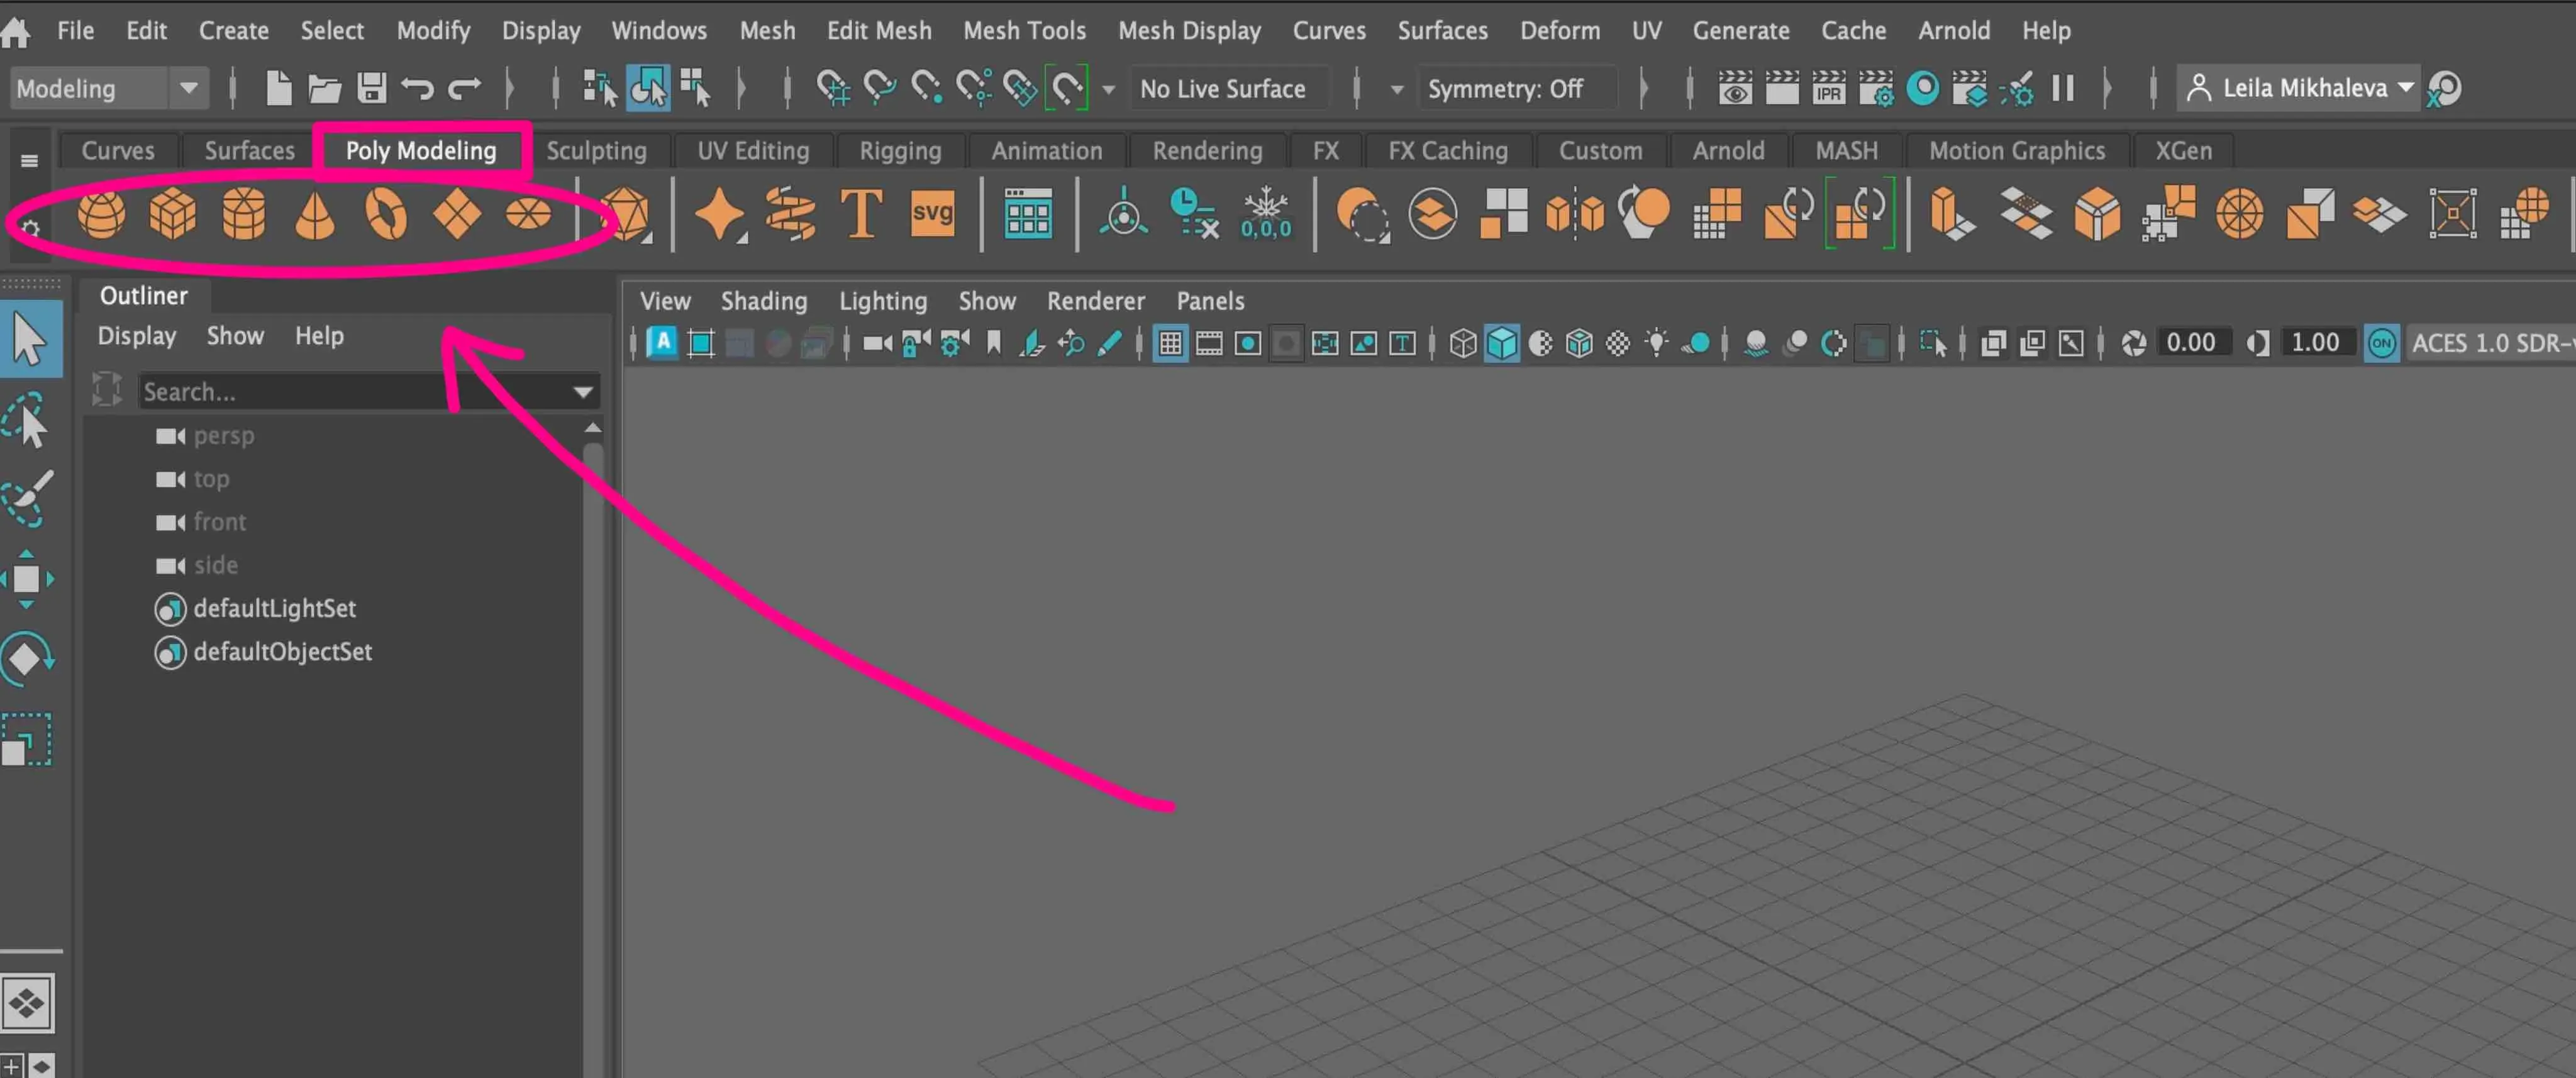
The top of the screen is the menu bar and the shelf (icon row with the tools you use most). The big central area is the viewport. On the right you’ll see the channel box with the selected object’s attributes. The bottom is the timeline and the range slider for animation.
Viewport navigation
The viewport always starts in perspective. Use Alt + left-mouse drag to tumble around the scene, Alt + middle-drag to pan, and Alt + right-drag (or the scroll wheel) to zoom. The view cube in the upper-right corner is the fast way to snap to front, top, side, or any iso angle.
Primitive shapes
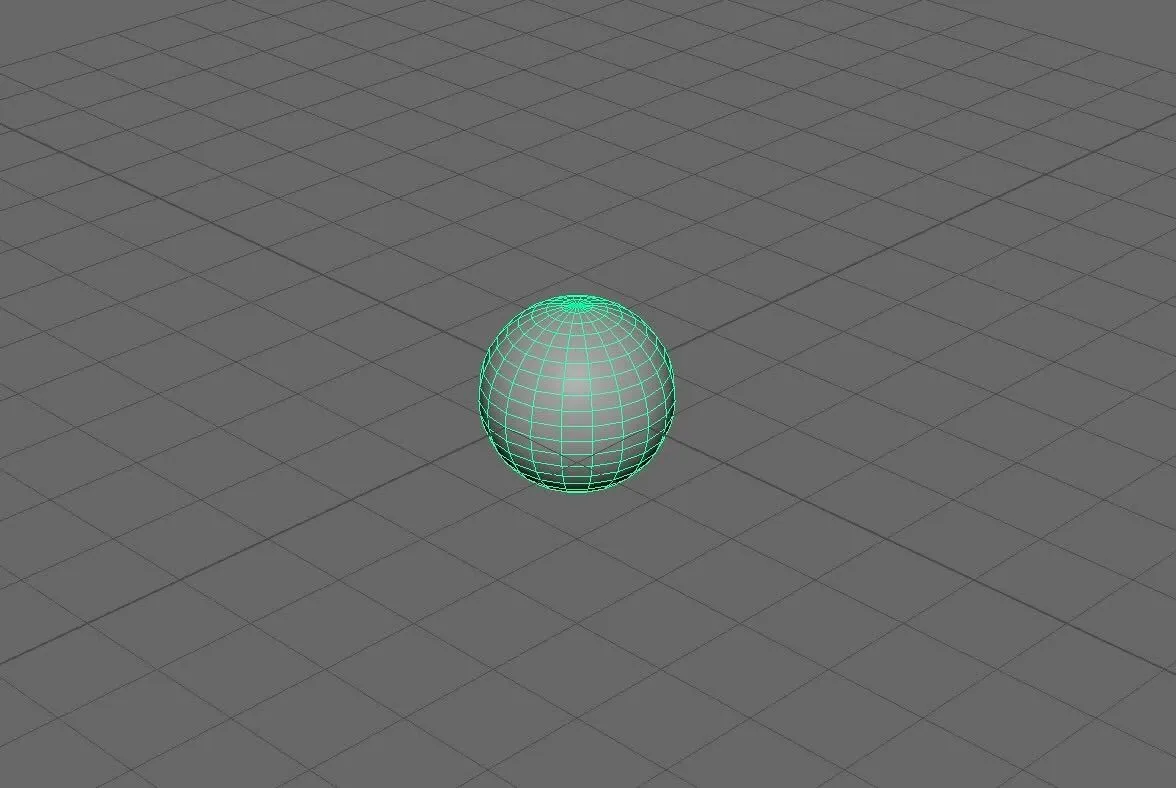
Start every scene with a primitive. Open Create → Polygon Primitives and pick cube, sphere, cylinder, or plane. These are the building blocks — most models begin as a primitive that gets subdivided and pushed into shape.
Modeling tools
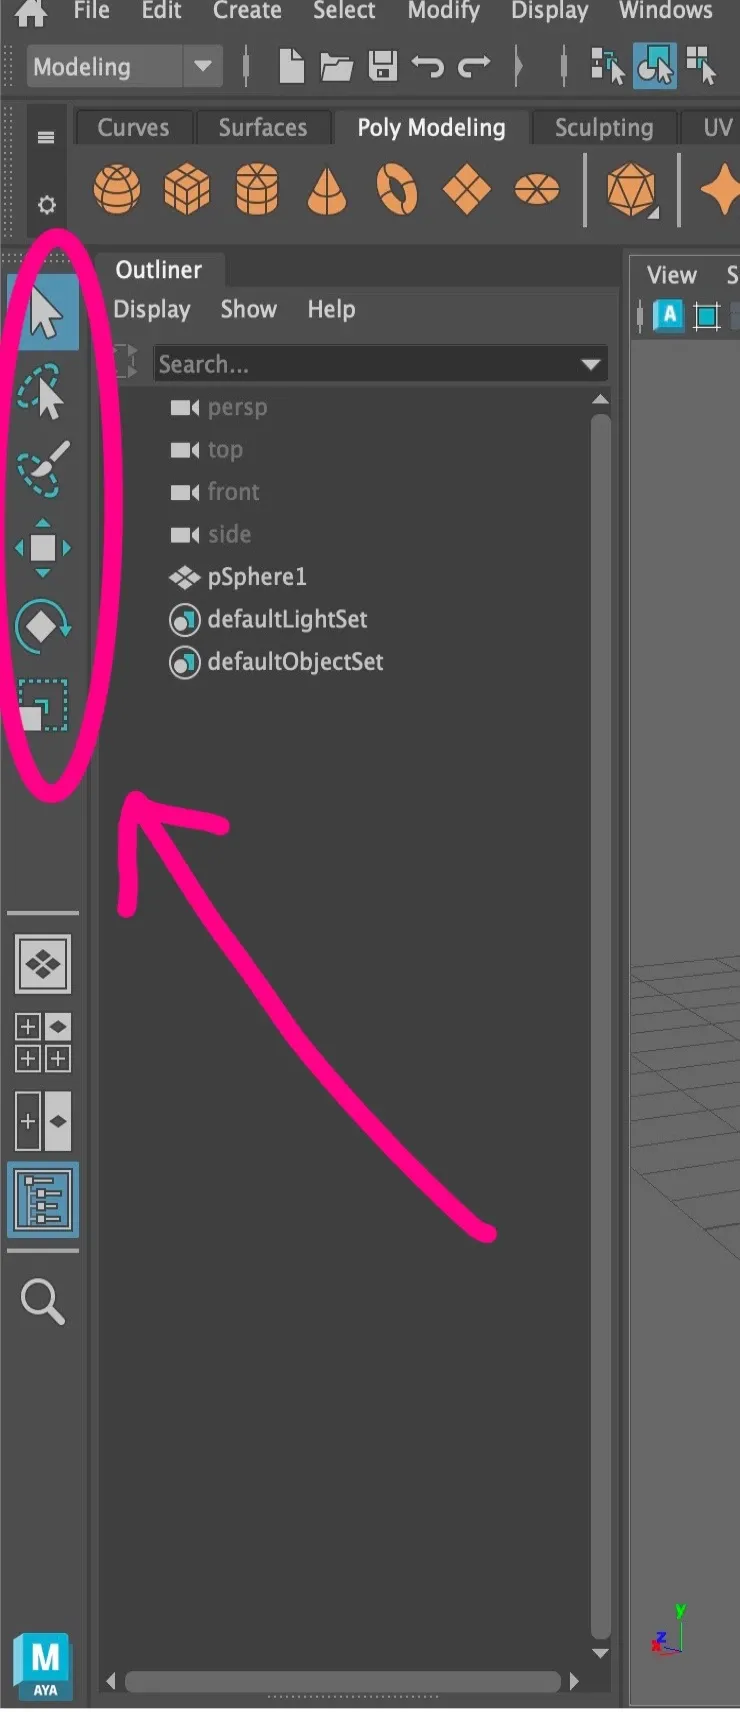
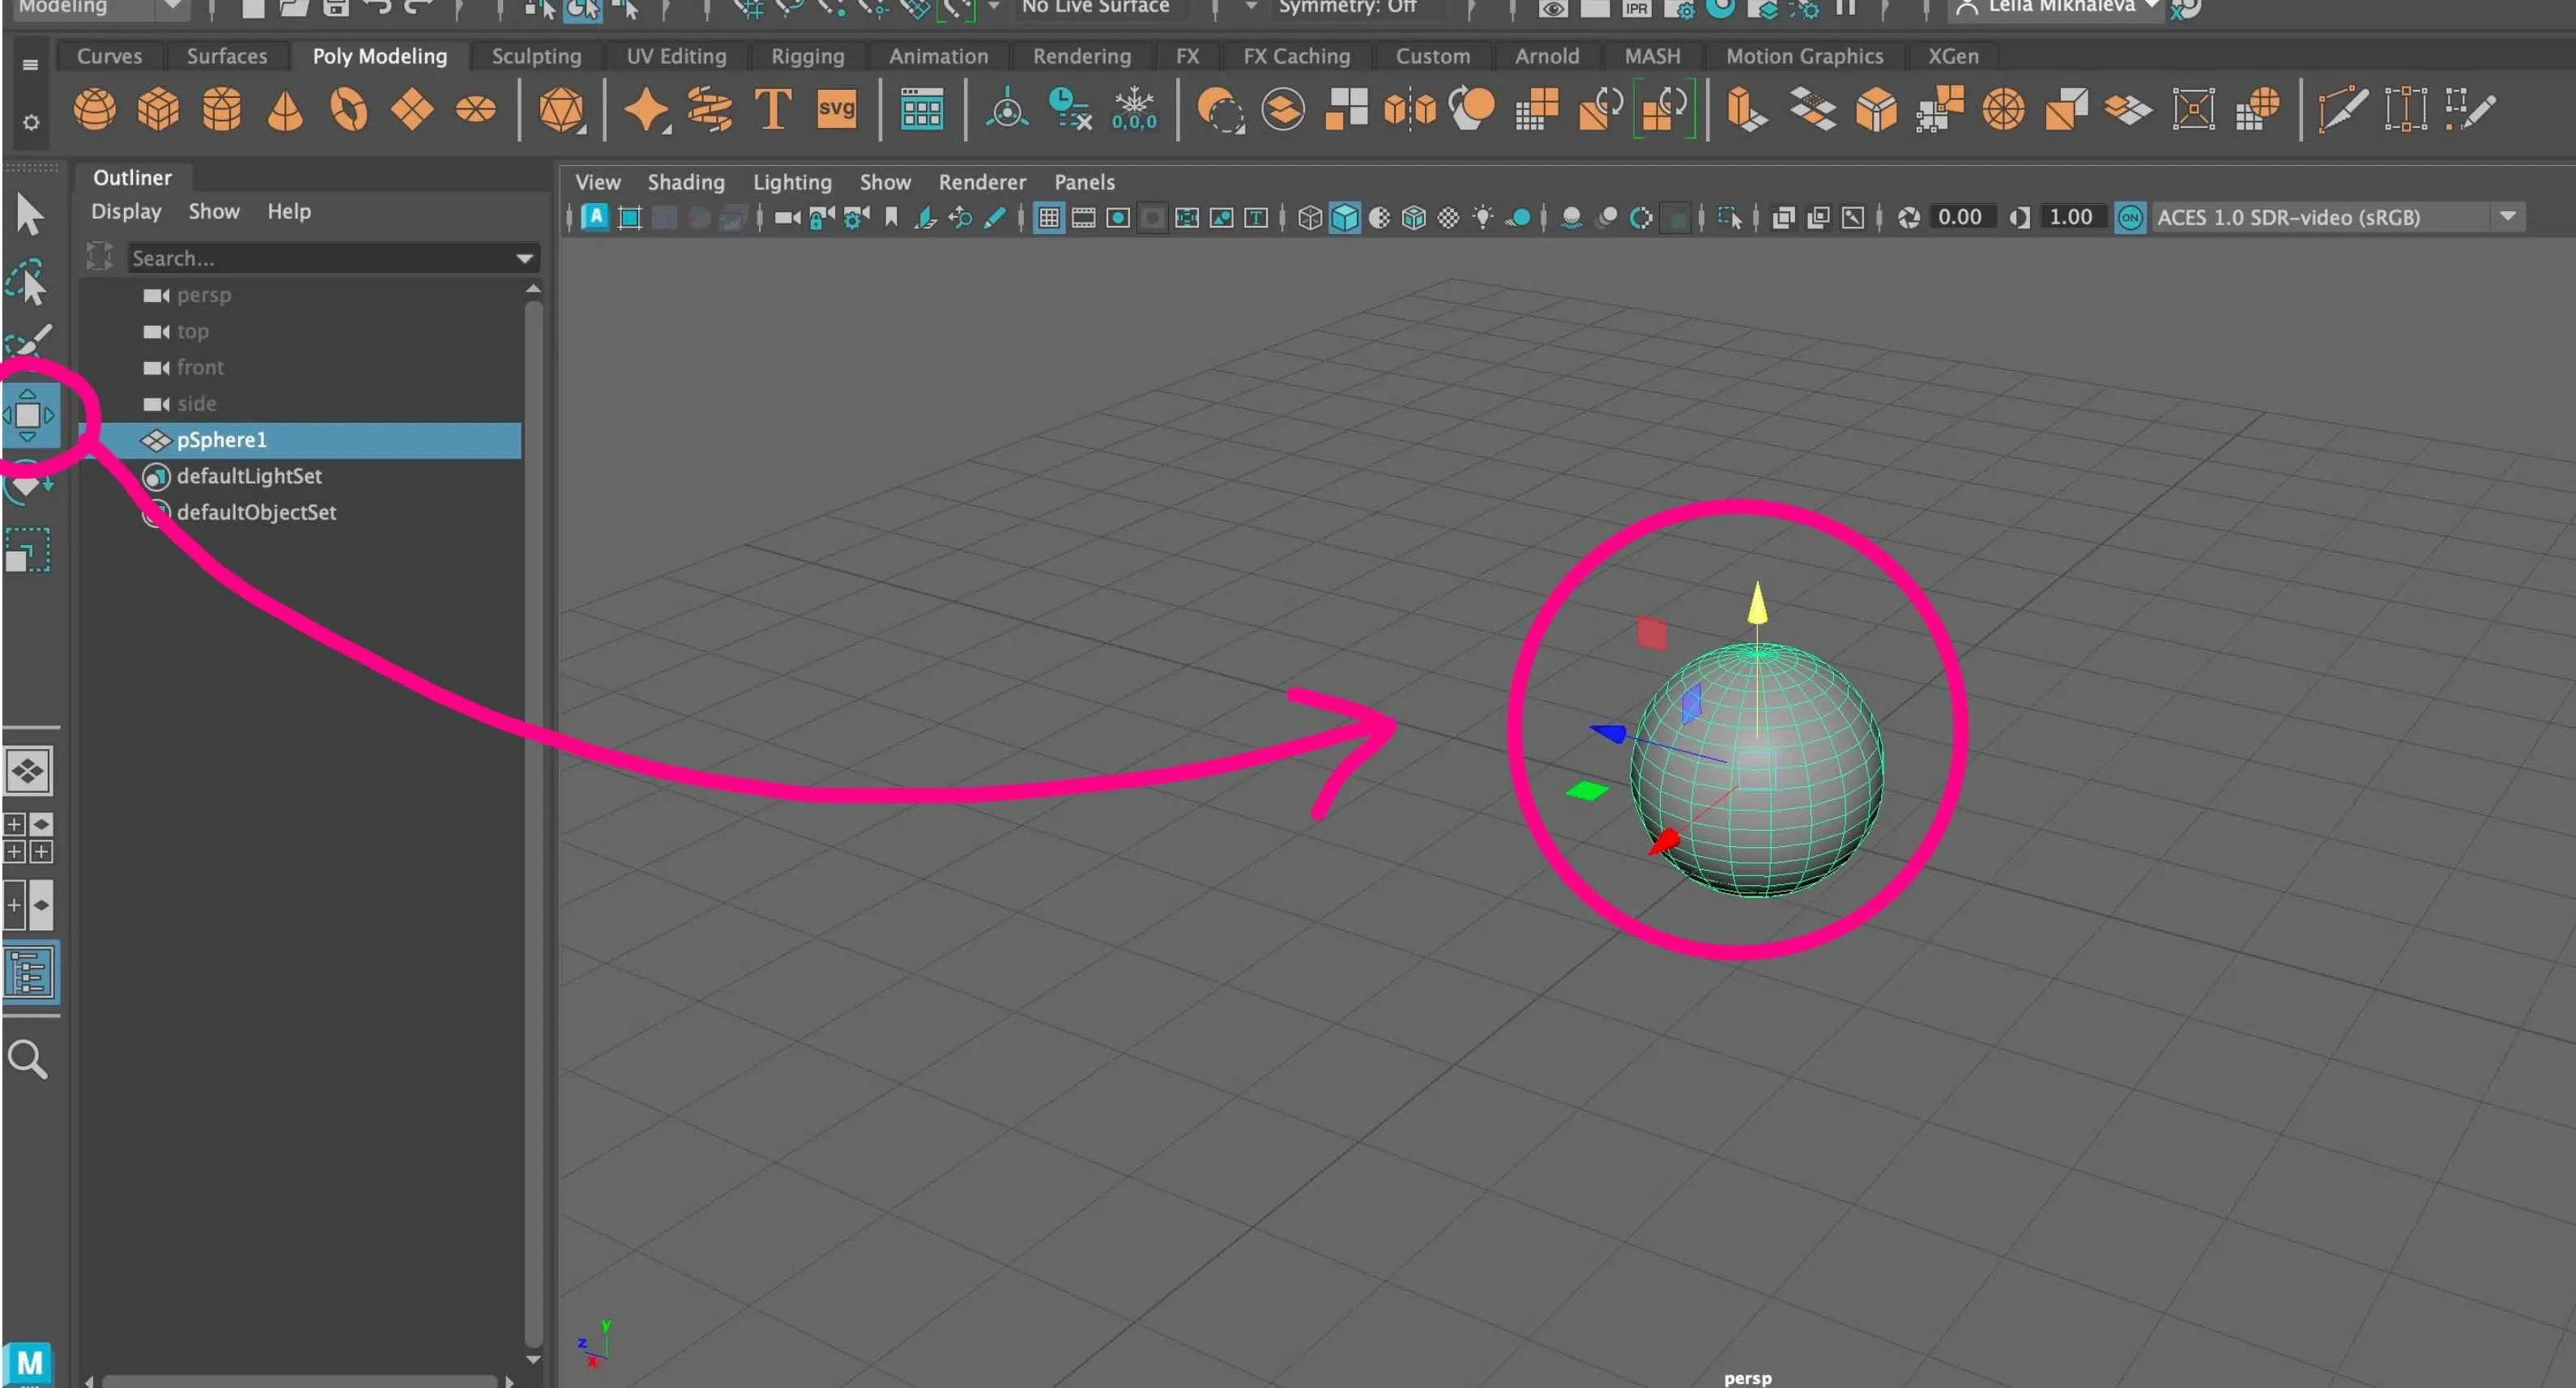
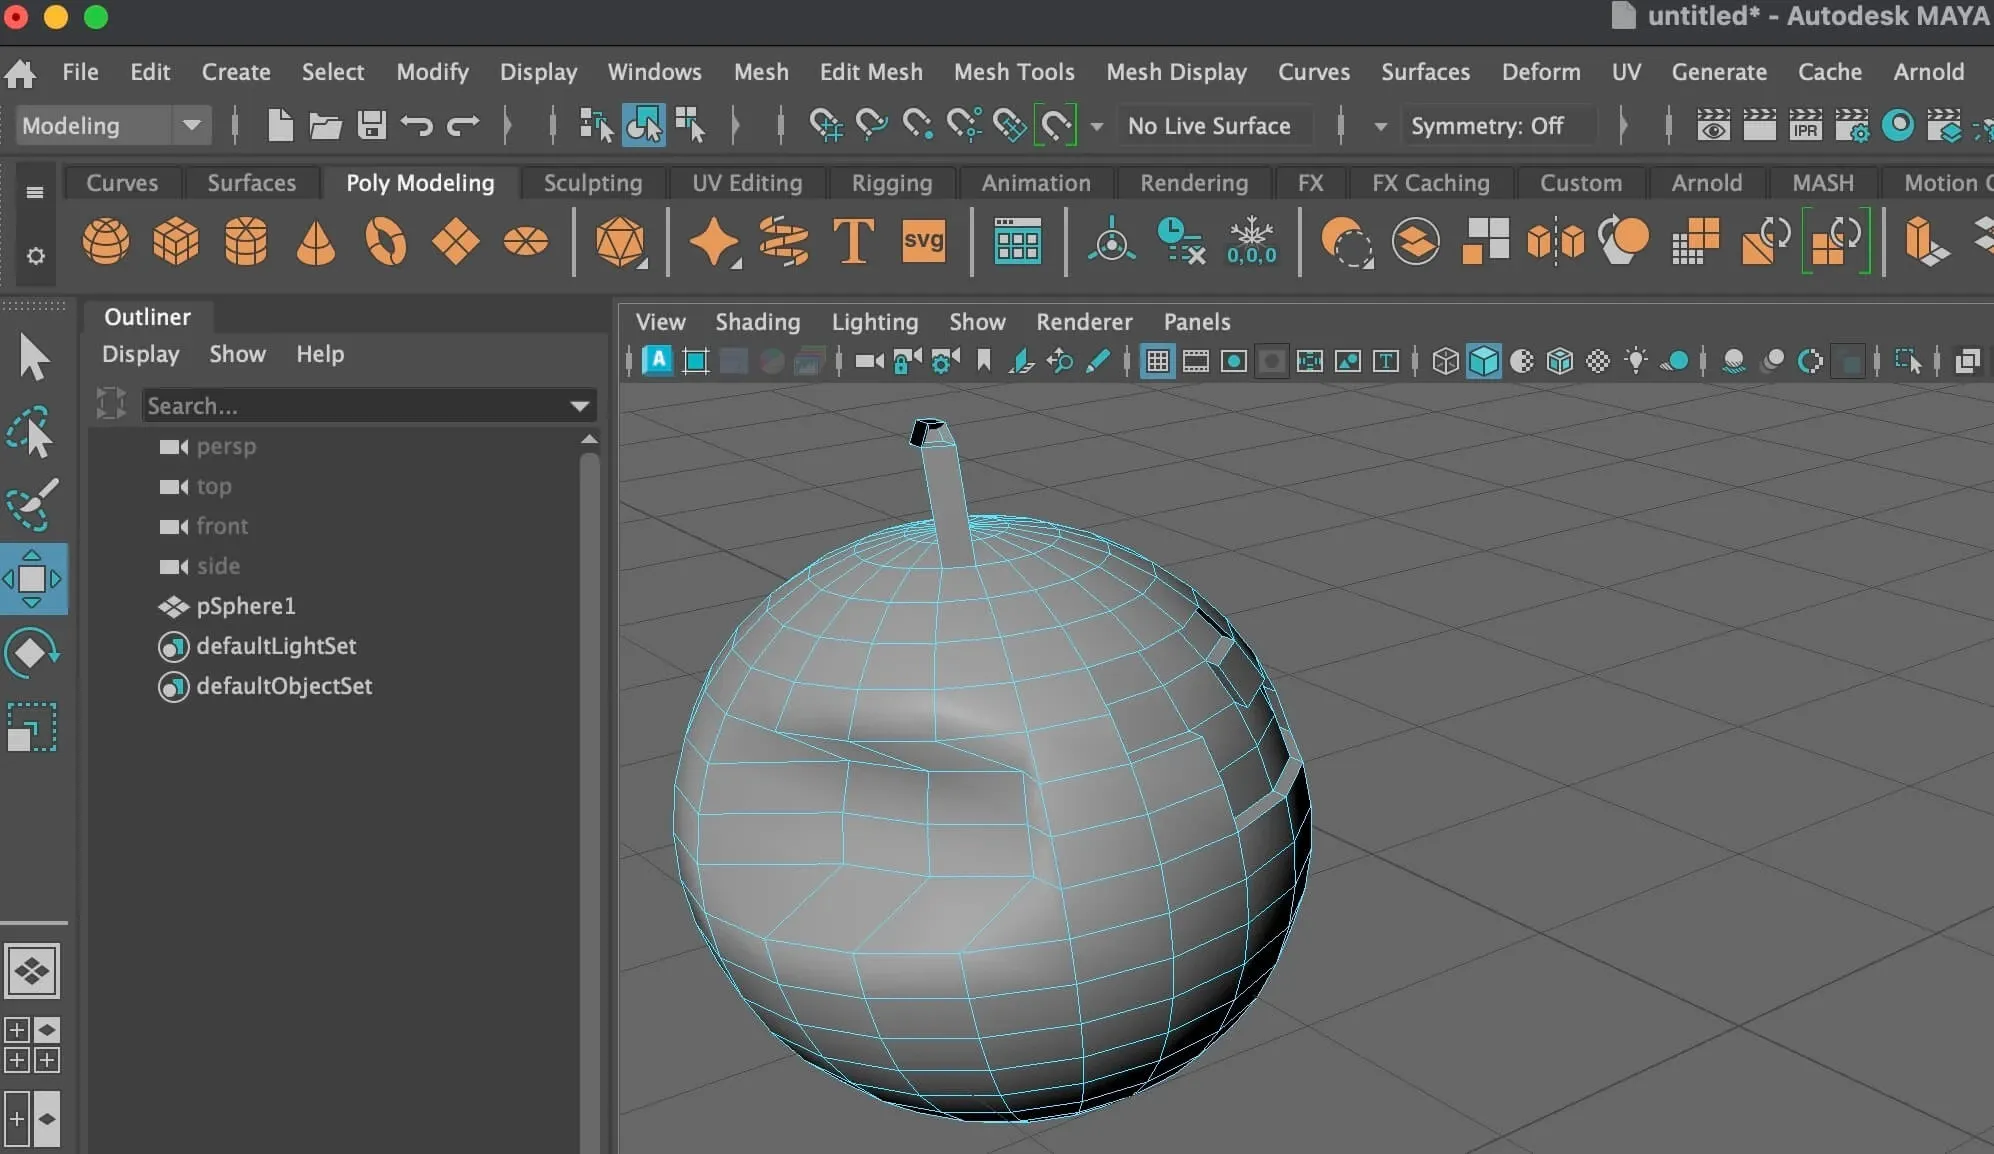
The modeling toolbox lives in the shelf and under the Mesh and Edit Mesh menus. Extrude, bevel, and the multi-cut tool are the three I reach for first — most low-poly shapes come from extruding faces and beveling sharp edges.
Channel box and attributes
The channel box on the right is where you see and edit translate, rotate, and scale for the selected object. Click any number to scrub it, or type a value directly. If you don’t see it, press Ctrl + A to toggle between the channel box and the Attribute Editor — same data, different views.
Related Posts
- 1 How to Color in Corel PainterCookbook · The Corel Painter colour picker in one tour — open the palette, the detailed mixer, the eyedropper, and how to build a custom palette from scratch.
- 2 How to Add a 2D Collider to Sprites in UnityCookbook · How to add and adjust a 2D collider on a sprite in Unity so it can actually collide with the world. The Inspector flow, in five clicks.
- 3 How to Get Rid of Sticky Walls in UnityCookbook · The quick fix for characters sticking to walls in 2D Unity — create a Physics Material 2D with zero friction and apply it to your player's Rigidbody 2D.
- 4 How to Add an Icon for a Game in UnityCookbook · The shortest path to setting a game icon in Unity — File → Build Settings → Player Settings — plus fixes for the two mini-problems you'll run into.
Random Posts
- 1 How to Add a 2D Collider to Sprites in UnityCookbook · How to add and adjust a 2D collider on a sprite in Unity so it can actually collide with the world. The Inspector flow, in five clicks.
- 2 How to Color in Corel PainterCookbook · The Corel Painter colour picker in one tour — open the palette, the detailed mixer, the eyedropper, and how to build a custom palette from scratch.
- 3 How to Use Brushes in PhotoshopCookbook · Where to find the Brush Panel, why Brush Settings matter, and how to load custom ABR brush sets — the three Photoshop brush moves every painter sets up first.
- 4 How to Launch an Indie Game in 2026: The Three PillarsGame Development · Launching your first game does not start with code or expensive software. It starts with a character worth building a world around, and a broken prototype.